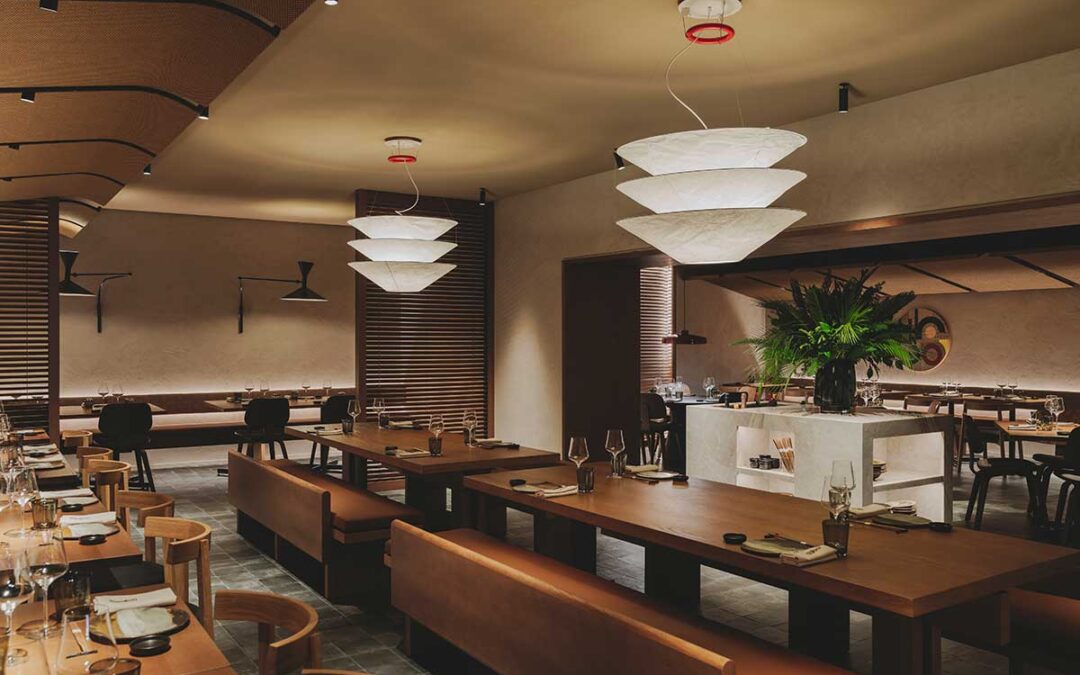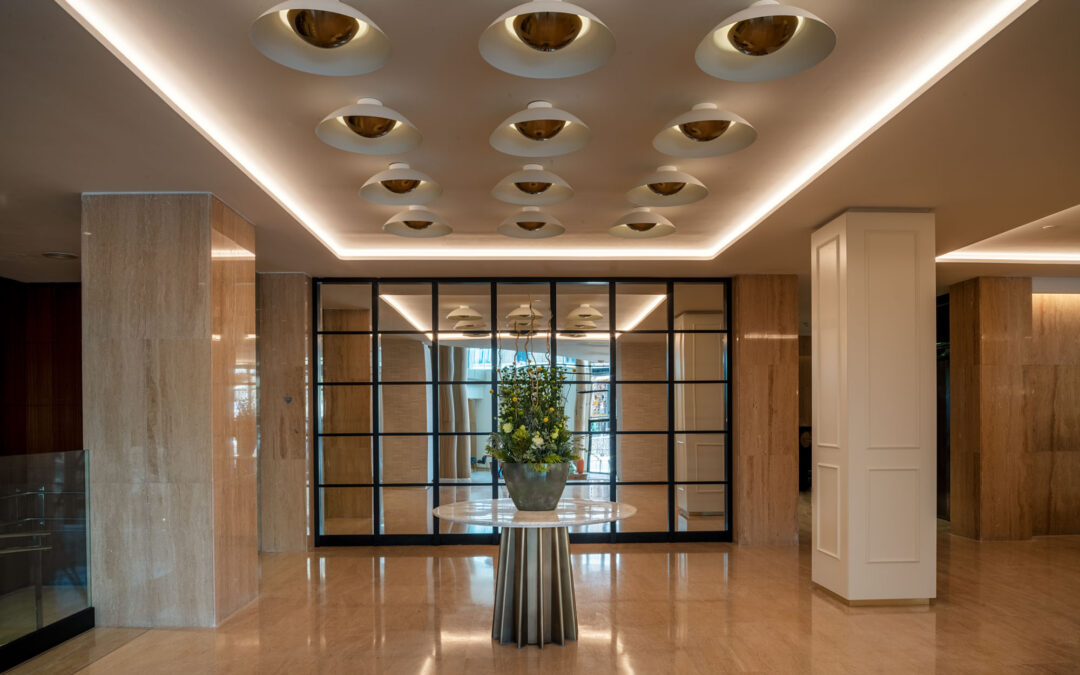
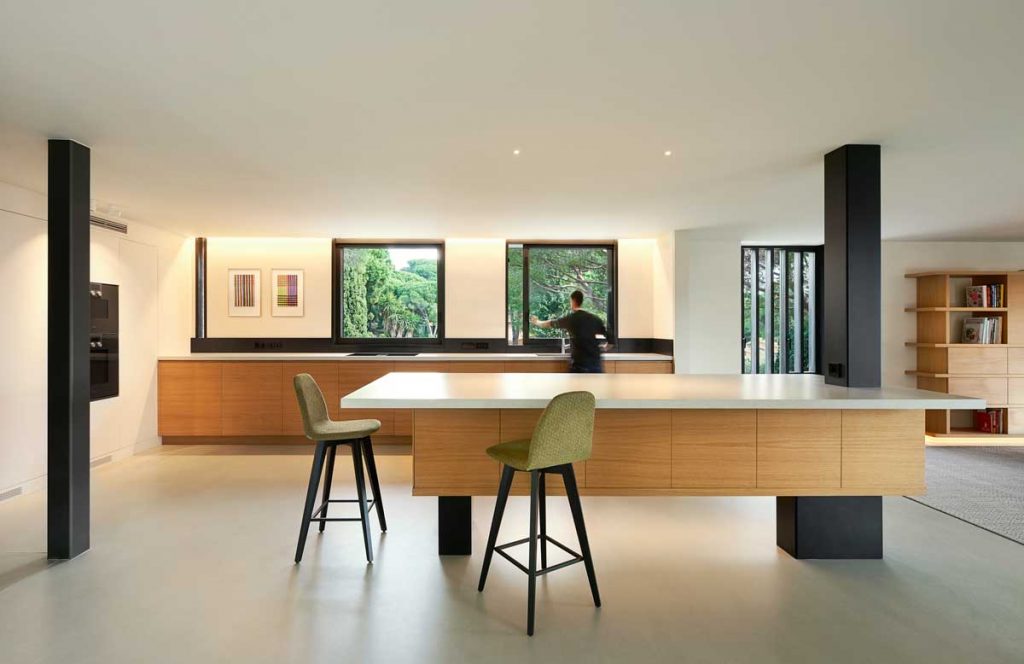
LED strips or linear lights offer interesting integrated light applications in architectural elements such as false ceilings, walls or floors, providing a solution for the different layers of lighting, be it ambient, accent or task lighting. The most outstanding feature of integrated lighting is the fact that, in general, only the light effect is visible, meaning the light source is completely hidden. This is something that makes integrated lighting potentially compatible with any type of space, architectural style and interior design.
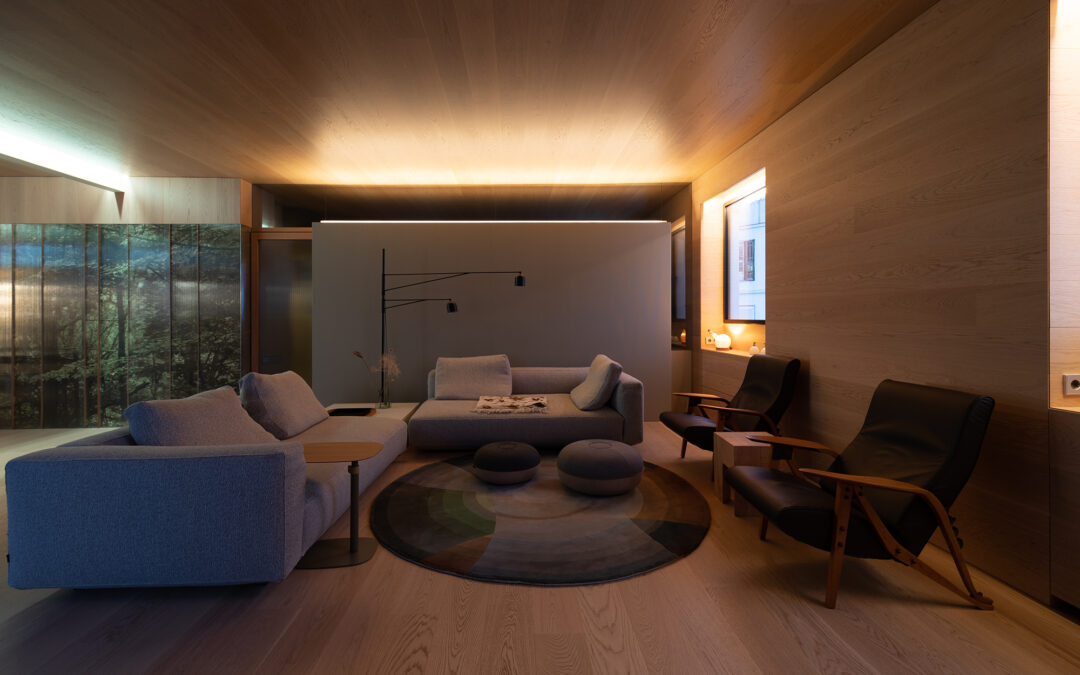
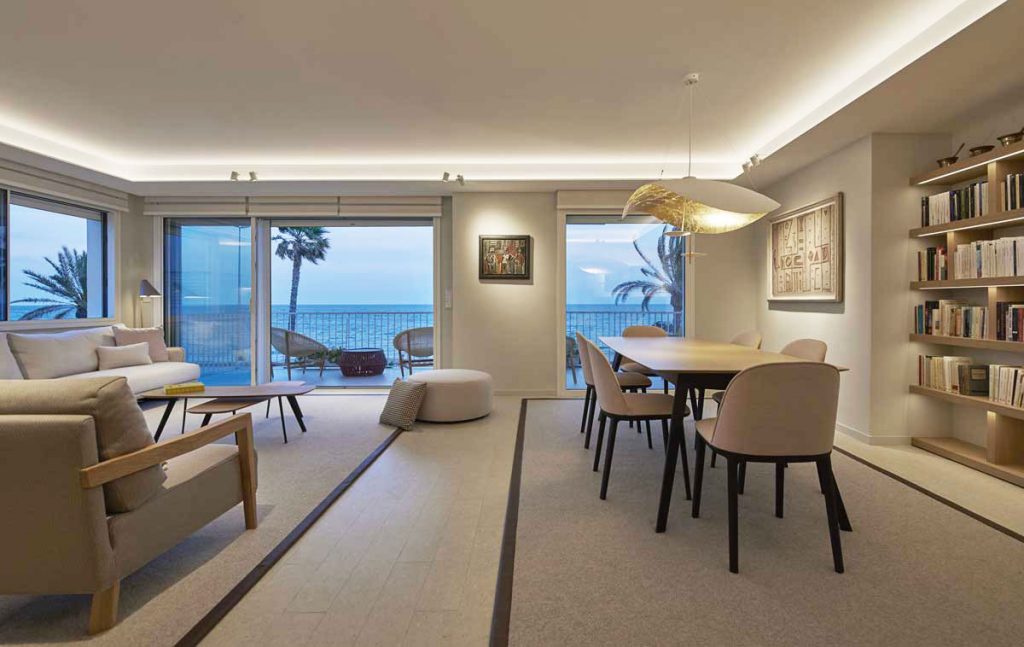
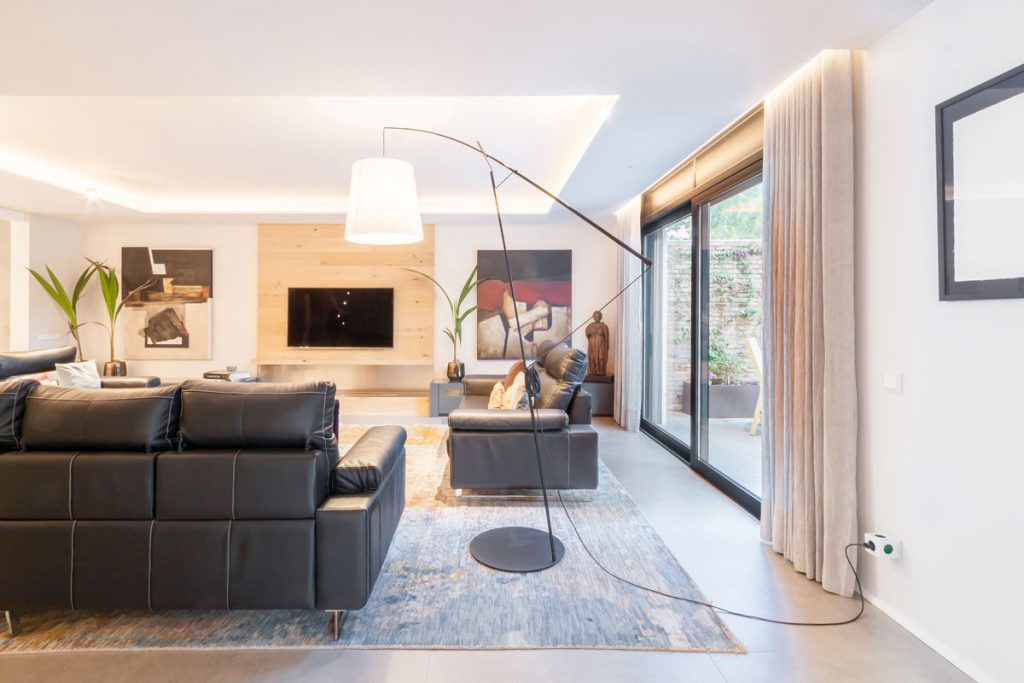
One of the most common applications is the placement of perimeter light lines around rooms. This application is ideal for living rooms, hallways and bedrooms. Usually, the light strips are built into plaster ledges or valances in a ceiling or high on the walls of a room. This type of solution has a specific name: cove lighting.
Indirect perimeter lighting
When the perimeter LED strip emits light towards the ceiling indirectly, a visual effect of lightness of the illuminated surfaces is achieved. It’s a common application in spaces with low ceilings, since it provides a visual sensation of greater height. The LED strip can be installed around the perimeter of the space, or be used in a specific area, more or less wide, creating a more overall or focussed lighting effect. The main elements to take into account are: the distance between the ledge and the ceiling, which will determine the reach and the uniformity of the light projection (the greater it is, the further the light will reach); the colour of the ceiling (if it’s white or clear it will contribute to more light diffusion) and how it will look from below, to define the detail of the ledge and to avoid the linear light being in direct view. For this application, we recommend using Lluria’s Moon or Basic ranges as they provide great flexibility.
If the perimeter light is emitted towards the vertical walls instead, the visual sensation will be one of expansion towards the sides, and the room will seem wider. There are several ways to execute this type of lighting, depending on the type of effect you want to achieve and the cove you plan to use to hide the linear LED. There are basically three options for placing the LED strip: lighting upwards, downwards or towards the wall. Each of these options has its nuances and specificities, but thanks to Lluria’s range of accessories and optics you’ll be able to further refine and fine-tune the final result, using different profiles, diffusers, emission angles or types of anchors.
Orientation of the LED linears
Generally, by directing the LED upwards, the light level on the vertical wall will be lower and an indirect and soft luminosity will be achieved.
When the LED looks down, its optics and directionality will be more evident and the wall will be more illuminated, which will allow you to highlight any textures or finishes on the material. To achieve this effect, you can install crown moulding made of wood or plaster where your wall meets the ceiling, or you can use Lluria’s Star35, whose aluminium profiles already include a visor that covers the LED.
With the LED facing the wall, the upper part will have a fairly marked luminosity, but the light intensity on the vertical plane will be greater than that achieved with the ‘pure’ indirect lighting integration detail. This solution can also be applied to the perimeter of curved walls, providing an elegant vertical gradient thanks to Lluria’s Moon or Basic strips.
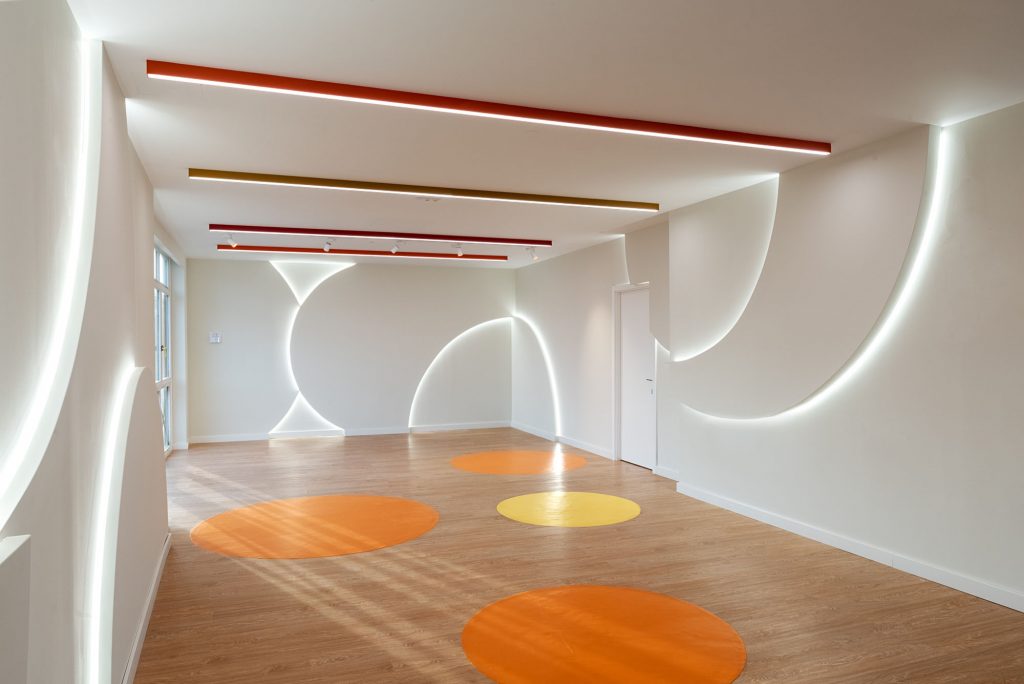
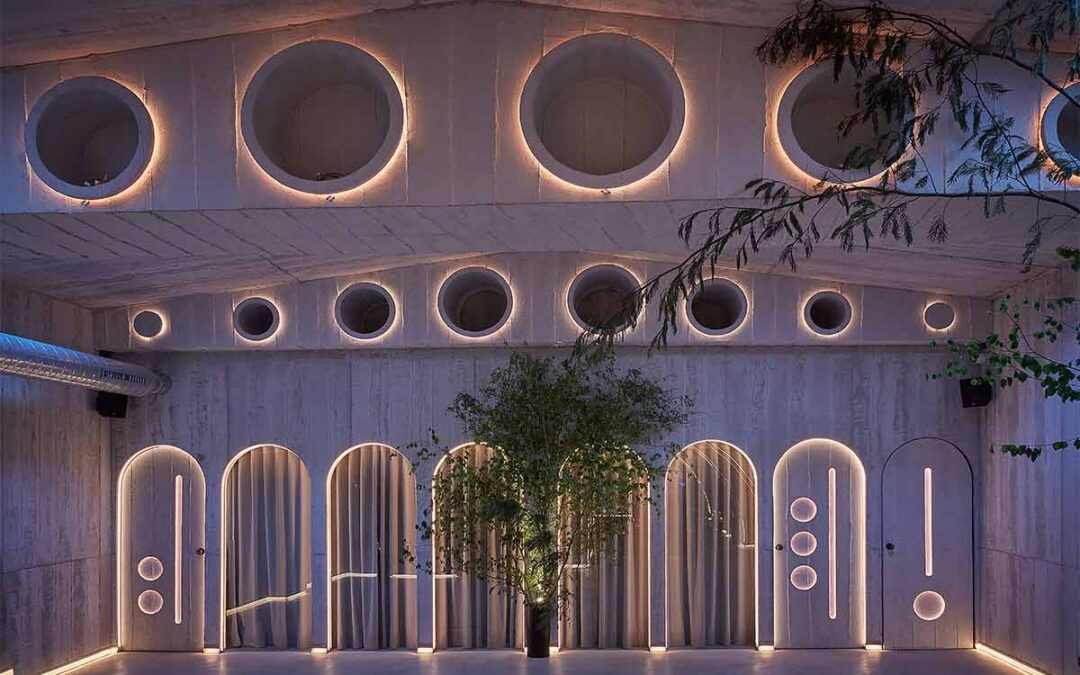
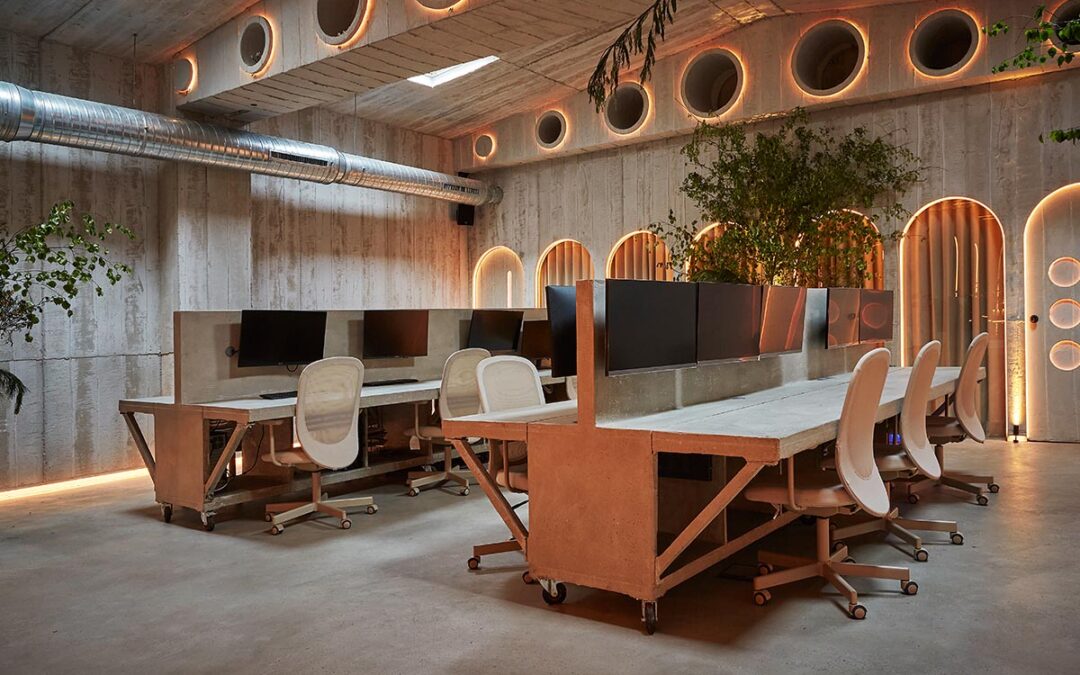
Curved lines lighting
Solutions for creating curved light lines deserve a special mention, as they’re often not obvious and have to be studied in each case. On the one hand, there are specific Lluria products such as the Side Way that allows the LED to be rotated laterally and produces a direct vertical wash of light on curved walls. Another great option is the Snake strip, which as its name suggests, can adapt to curvatures in various directions. But even LED linears that haven’t been specifically designed for curved surfaces can be customised and adapted to them, thanks to a careful selection of accessories, optics, and modulation and anchoring systems.
If you want to illuminate towards the floor, the effect achieved is that of a subtle and discreet signalling. For this you’ll need smaller details that can be integrated into light sockets or grooves. It’s important to consider the floor finish with these types of applications, as matt surfaces tend to distribute light perfectly while glossy floors can generate unwanted reflections. The detail can be done by including LED linears such as Moon or Basic in the design of skirting boards. Alternatively, Lluria offers the Star 29 profile, which has LED strips already integrated into an element that acts as a reflector, a heatsink and as protection against blows.
Each project is different and each integration detail requires careful sizing as well as a careful selection of LEDs, profiles, optics and accessories to apply the product in the best way according to the desired effect. For this reason, Lluria offers personalised advice to architects, lighting designers and interior designers when defining the specifications and the most appropriate solutions to the requirements of each space.